The 60-second verdict
Set up an AI voice recorder before the first important meeting. Pairing the app, checking storage and running one real call test takes less time than reconstructing a missing client or project record.
Decision focus: use the method below only where it produces a recoverable source, a verifiable output and a clear next action. If one of those fails, change the workflow rather than trusting a polished summary.
Evidence basis and limits
- Decision factors covered: Before switching it on; 1. Charge fully; 2. Install and secure the app.
- Evidence rule: The decision is based on the complete capture-to-action workflow, not a single feature or marketing accuracy percentage.
- Boundary: Examples and workflow recommendations must be tested with representative recordings, the intended users and the actual approval process before rollout.
This checklist is designed for a new dedicated AI recorder, but most steps also apply to phone and laptop recording systems.
Before switching it on
- Check the package contents against the order.
- Inspect the device, charging port, buttons and attachment system.
- Confirm the correct app name from the supplied documentation.
- Read the current plan or included AI allowance.
- Keep the order and warranty information.
1. Charge fully
Use the supplied or approved cable and allow the first charge to complete. Confirm how the device indicates charging, full battery and low battery.
Do not rely on an untested partial charge for the first work session.
2. Install and secure the app
- Download the correct official app.
- Create the account using an address controlled by the user or organisation.
- Use a strong unique password.
- Enable available account security.
- Record the renewal or included-plan date.
- Check which permissions the app requests and why.
3. Pair the recorder
Follow the device pairing process, then disconnect and reconnect once. A setup that works only during the first guided screen may fail later.
Confirm the app shows the correct device, battery and available storage.
4. Set date, time and language
Accurate timestamps make files easier to identify. Select the primary transcription language and any regional or spelling preferences available.
Wrong language selection can reduce transcription accuracy even when audio is clear.
5. Learn the physical controls
Without looking at the app, practise:
- Starting a recording.
- Confirming that recording is active.
- Stopping and saving.
- Changing NOTE or CALL mode where applicable.
- Locking controls if supported.
- Finding the most recent file.
6. Record a quiet-room test
Make a two-minute recording containing your name, today’s date, three numbers, a product or technical term and a normal speaking pause. Replay the source audio before generating the transcript.
7. Record a real-room test
Use the room where meetings normally happen. Include the farthest chair, quiet speech, paper movement and one interruption.
Move the recorder until every participant is intelligible. Save that placement as the standard setup.
8. Test phone calls separately
Call recording depends on the phone, operating system, call app and route. Test:
- Ordinary mobile call.
- Speakerphone.
- Bluetooth connected and disconnected.
- Internet calling app.
- Business meeting platform if used.
Confirm both voices appear in the original audio. Do not judge from the transcript alone.
9. Generate and review AI outputs
Create a transcript, summary and any speaker-separated or templated note available. Check names, numbers, dates, speaker labels, actions, conditions and uncertainty.
10. Export files
Export the original audio and editable text. Open them on another device and save them to the real destination used for work.
Check whether timestamps and speaker labels survive export.
11. Create a naming convention
Use a repeatable pattern:
YYYY-MM-DD – subject – conversation type – status
Example: 2026-07-21 – Project North – supplier call – reviewed.
12. Decide the retention process
For each recording type, define why it is recorded, who reviews it, where the final note belongs, whether source audio is retained and when device, app and cloud copies are deleted.
13. Set a charging routine
Connect charging to an existing habit. For example, charge when docking the laptop or before calendar events longer than two hours.
Place the cable in the recorder case or normal work bag.
14. Check storage
Find the available-capacity screen and understand the full-memory warning. Record one hour using the chosen quality setting to learn the real file size.
15. Prepare a pre-meeting script
Use wording appropriate to the context and policy to explain the purpose of recording. The device being small does not remove the need for clear disclosure or permission where required.
Pre-meeting checklist
| Check | Status |
|---|---|
| Battery covers session plus margin | □ |
| Storage available | □ |
| Correct mode selected | □ |
| Recorder positioned and unobstructed | □ |
| Participants informed as required | □ |
| Short sound test completed | □ |
| Owner of final note identified | □ |
Post-meeting checklist
| Check | Status |
|---|---|
| Complete source file confirmed | □ |
| File renamed | □ |
| Transcript generated | □ |
| Critical details verified | □ |
| Final output moved to destination | □ |
| Retention decision applied | □ |
| Battery and storage ready for next use | □ |
Where NERALVO Halo fits
View Halo specifications against the evidence checklist uses 64GB local storage, NOTE and CALL modes, up to 35 hours of recording and Bluetooth transfer to DOWAY.
DOWAY can create transcripts, summaries, speaker-separated notes, templates, translations and mind maps. The current package includes one year of DOWAY Max from activation. Record the activation date and verify current allowances.
CALL mode compatibility varies by phone, operating system and call route, so complete the call tests above before relying on it.
Workflow choice matrix for AI Voice Recorder Setup Checklist
Choose the method that protects the source and reduces downstream correction. The table makes the non-hardware options explicit.
| Condition | Preferred route | Why |
|---|---|---|
| Repeatable remote work with approved integrations | Cloud software | Automation and central collaboration may outweigh device independence. |
| In-person, mobile or unreliable-connectivity work | Dedicated recorder | Independent capture and a recoverable local source are usually more resilient. |
| Recording is refused, prohibited or unnecessary | Manual notes / no recording | Respecting the boundary is the correct workflow, not a product failure. |
| High-risk or mixed work | Governed hybrid | Separate capture, review, approval and retention rather than trusting one tool. |
Related guides
Bottom line
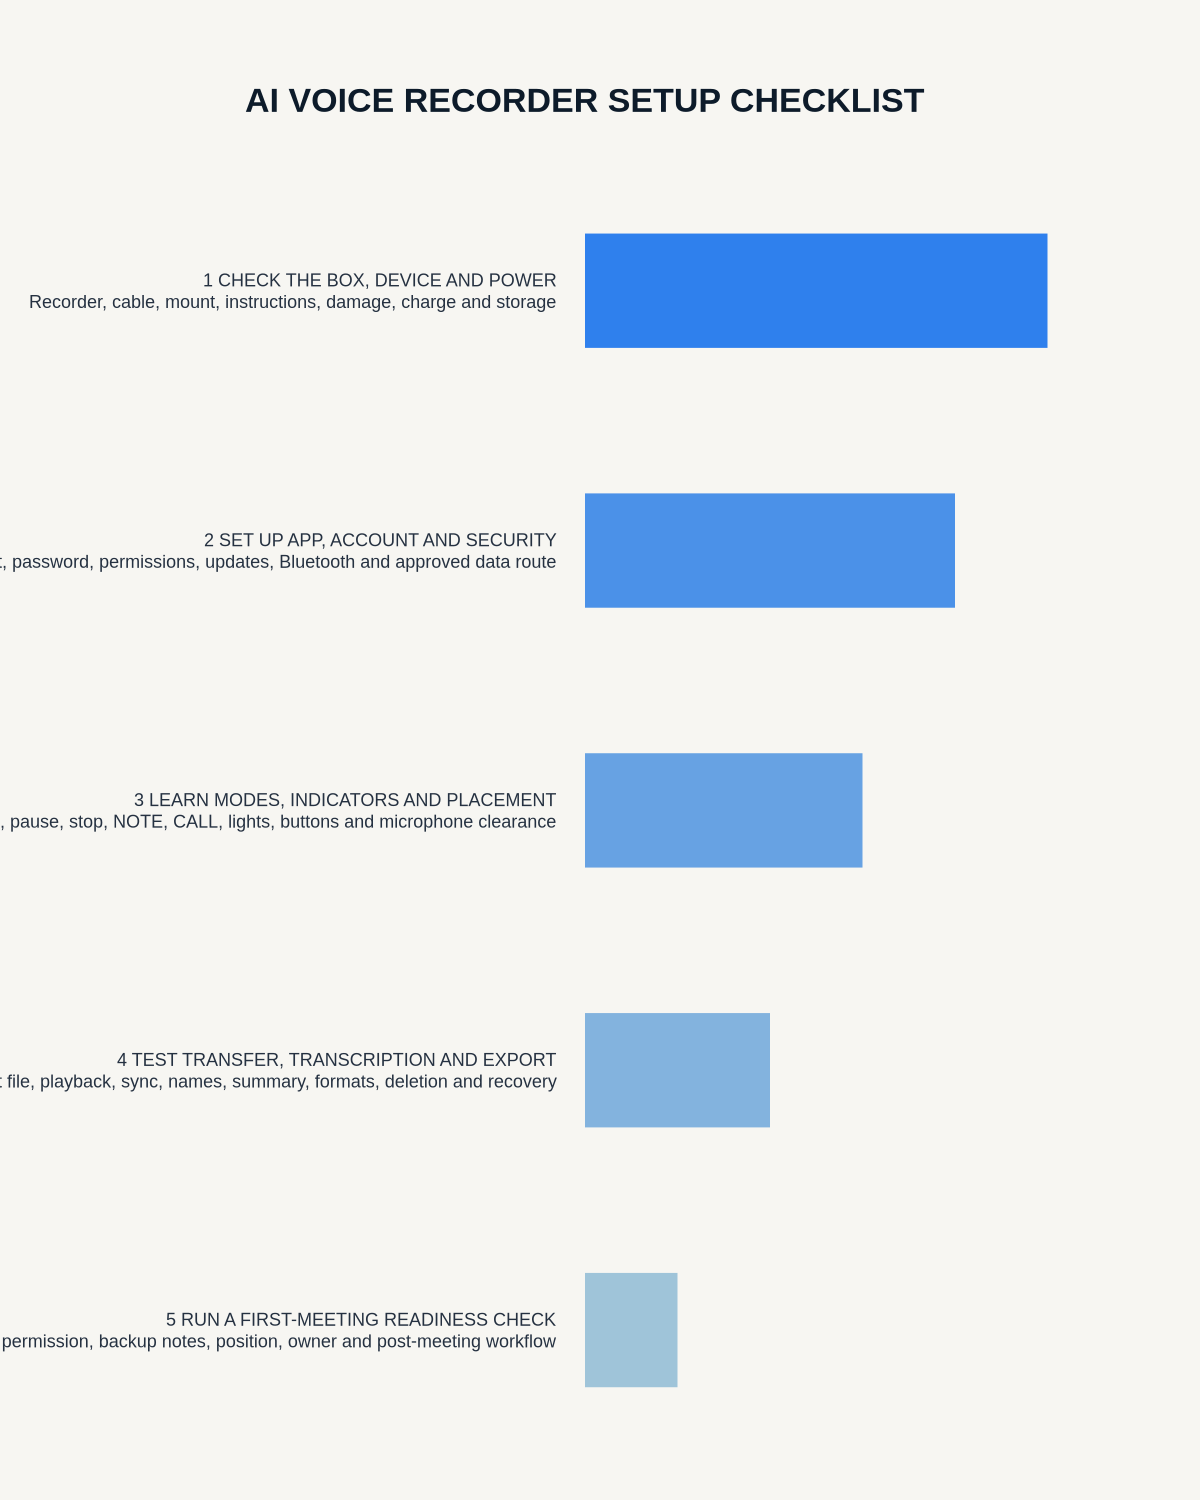
A reliable setup proves five things before important use: complete audio capture, correct call routing, usable AI output, successful exports and a clear storage process. Complete the checklist once, document the working settings and repeat the short pre-meeting checks every time.
Workflow map
Visual map for AI Voice Recorder Setup Checklist: From Unboxing to First Meeting
- Define the decisionState the question, required output and acceptance rule.
- Capture the sourceUse the approved route and preserve context, identity and limitations.
- Verify material detailsReplay or check names, numbers, negatives, decisions and actions.
- Move into the real recordAssign an owner, retain evidence and apply the deletion rule.
On this page
Related guides
See whether Halo fits this workflow
Review the NERALVO Halo specifications, included services, delivery information and current offer only after completing the guide.
Found an error or an out-of-date claim? Email support@neralvo.com with the article address and a supporting source.